A guide to tape modding of mechanical keyboard switches
Overview
This guide shows you how to apply the tape mod to Kailh Choc switches, with the goal of silencing the switches.
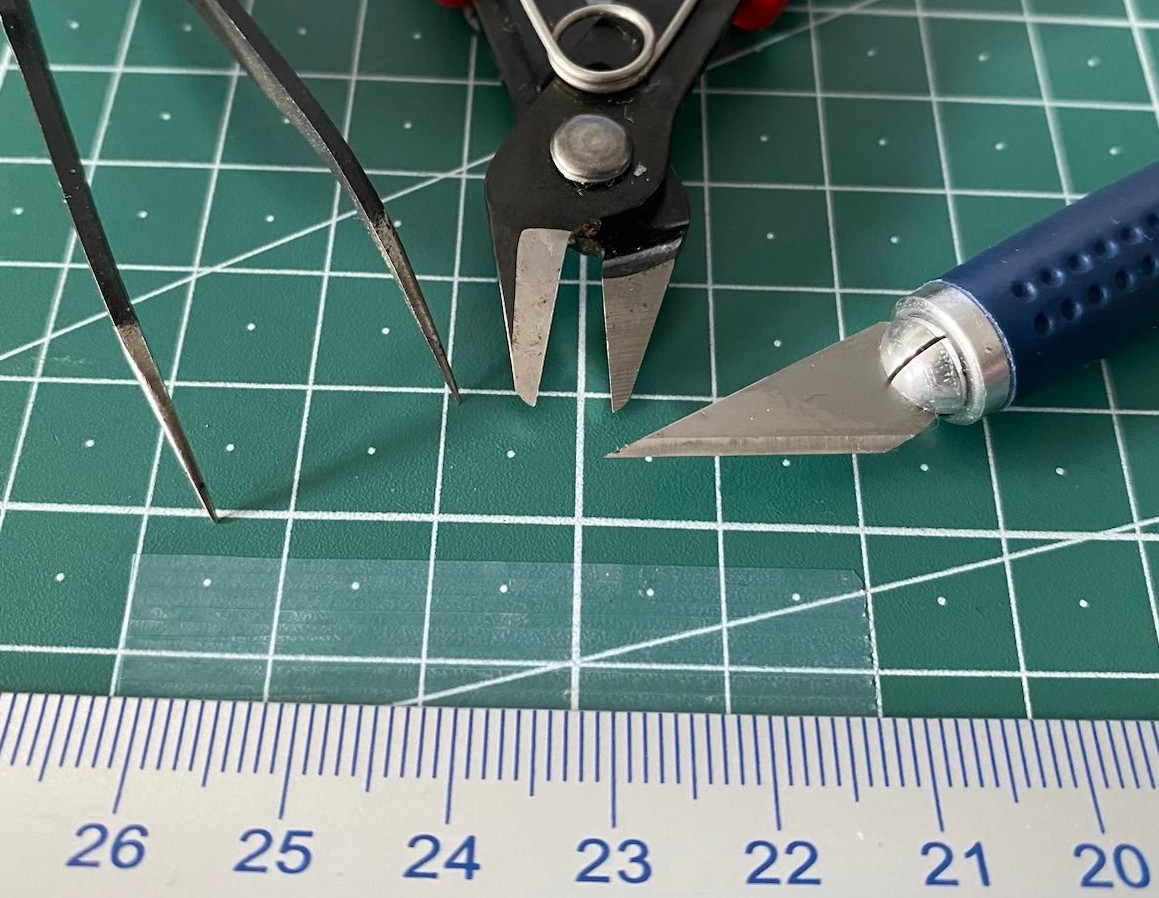
The following tools are necessary:
- tweezers for electrical components
- micro cutter
- precision utility knife (or a scissors)
- ruler
- one-sided tape:
- I used Scotch tape because its thin and doesn’t leave glue on surfaces when removing it
- One switch requires 2 times approximately $4\mathit{cm}$ of tape, this makes for one switch $8\mathit{cm}$, for $58$ switches you will need $58 \cdot (4\mathit{cm} \cdot 2) \approx 46 \mathit{cm}$
The following Youtube video inspired me to mod my keyboard and write this guide, highly recommend it for a step-by-step tutorial:
How does the mod work?
This section explains the theory what the mod does to the switch to make it more quiet.
This is my understanding of how the mod works with no scientific basis (please correct me if I’m wrong): By applying tape between the switch housing and the stem’s rails, the tape dampens the stem’s bounce-back after a keypress. It changes the sound & feel profile of the switch to be quieter and smoother to type on.
How long is the mod functional?
I didn’t find any answers in forums or on websites how often the mod has to be maintained in order to function properly. So far the tape holds for around two months with no noticable changes to the sound & feel.
Is it worth the effort?
This is a subjective decision – for me as an enthusiastic user of mechanical keyboards, it’s worth it.
Modding
I recommend to go through the steps for only one of your switches to have a side-by-side comparison; so you see if you like it or not. If you decided to apply the mod on all of your switches, you can streamline some steps to save some time.
Prepare your switches
Take apart your the switch, put aside the top half and leave the rest of the switch as is.
Prepare the tape
Take off $4\mathit{cm}$ of tape and stick it to a surface that endures the cuts of a precision utility knife. Use the ruler to cut the piece of tape into strips of equal diameter, each strip should be around a millimeter. See Figure 1 on how to cut the tape exactly.
Applying the tape on the switch
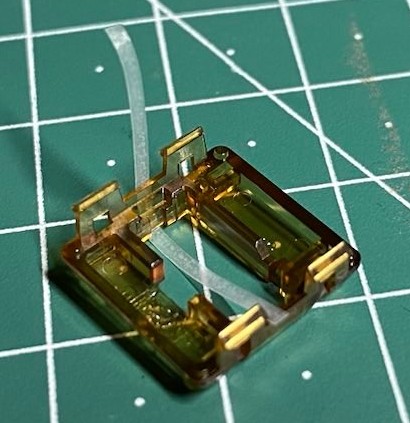
Step 1
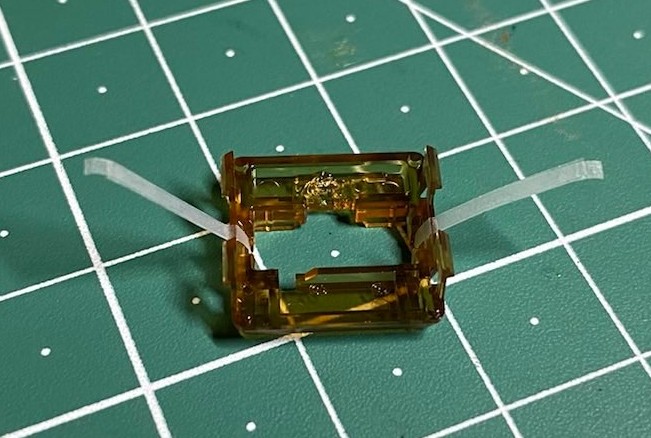
Take a strip of the tape and wrap it around the switch’s gap. Ensure that the strip on the inside of the switch is longer (in preparation for the next step).
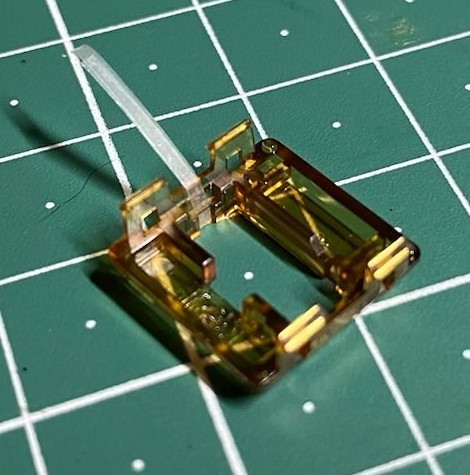
Step 2
Connect the tape and ensure that the two lenghts of tape overlap perfectly when wrapping around the switch hinge.
Step 3
Repeat step 1 to 2 for the other side.
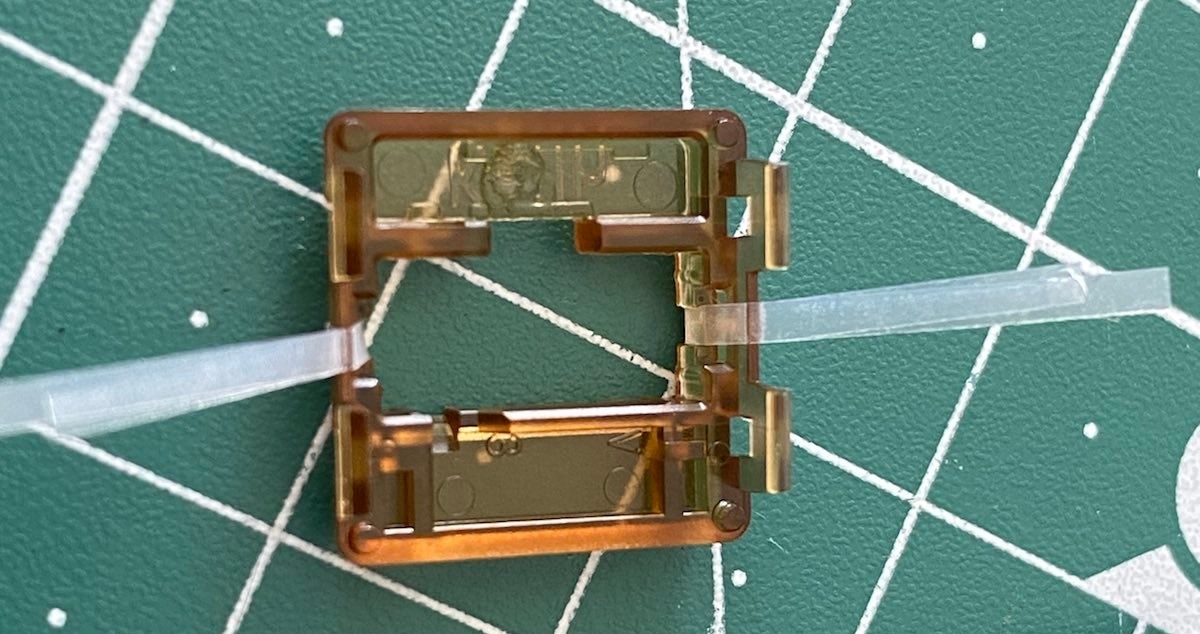
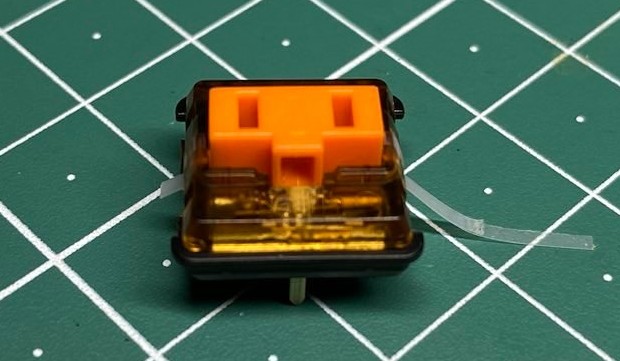
Step 4
Put the switch together and make sure that the tape strips point away from the switch.
Cut the strips of tape at around 2mm from the switch so there is a little leftover to hold the tape together.
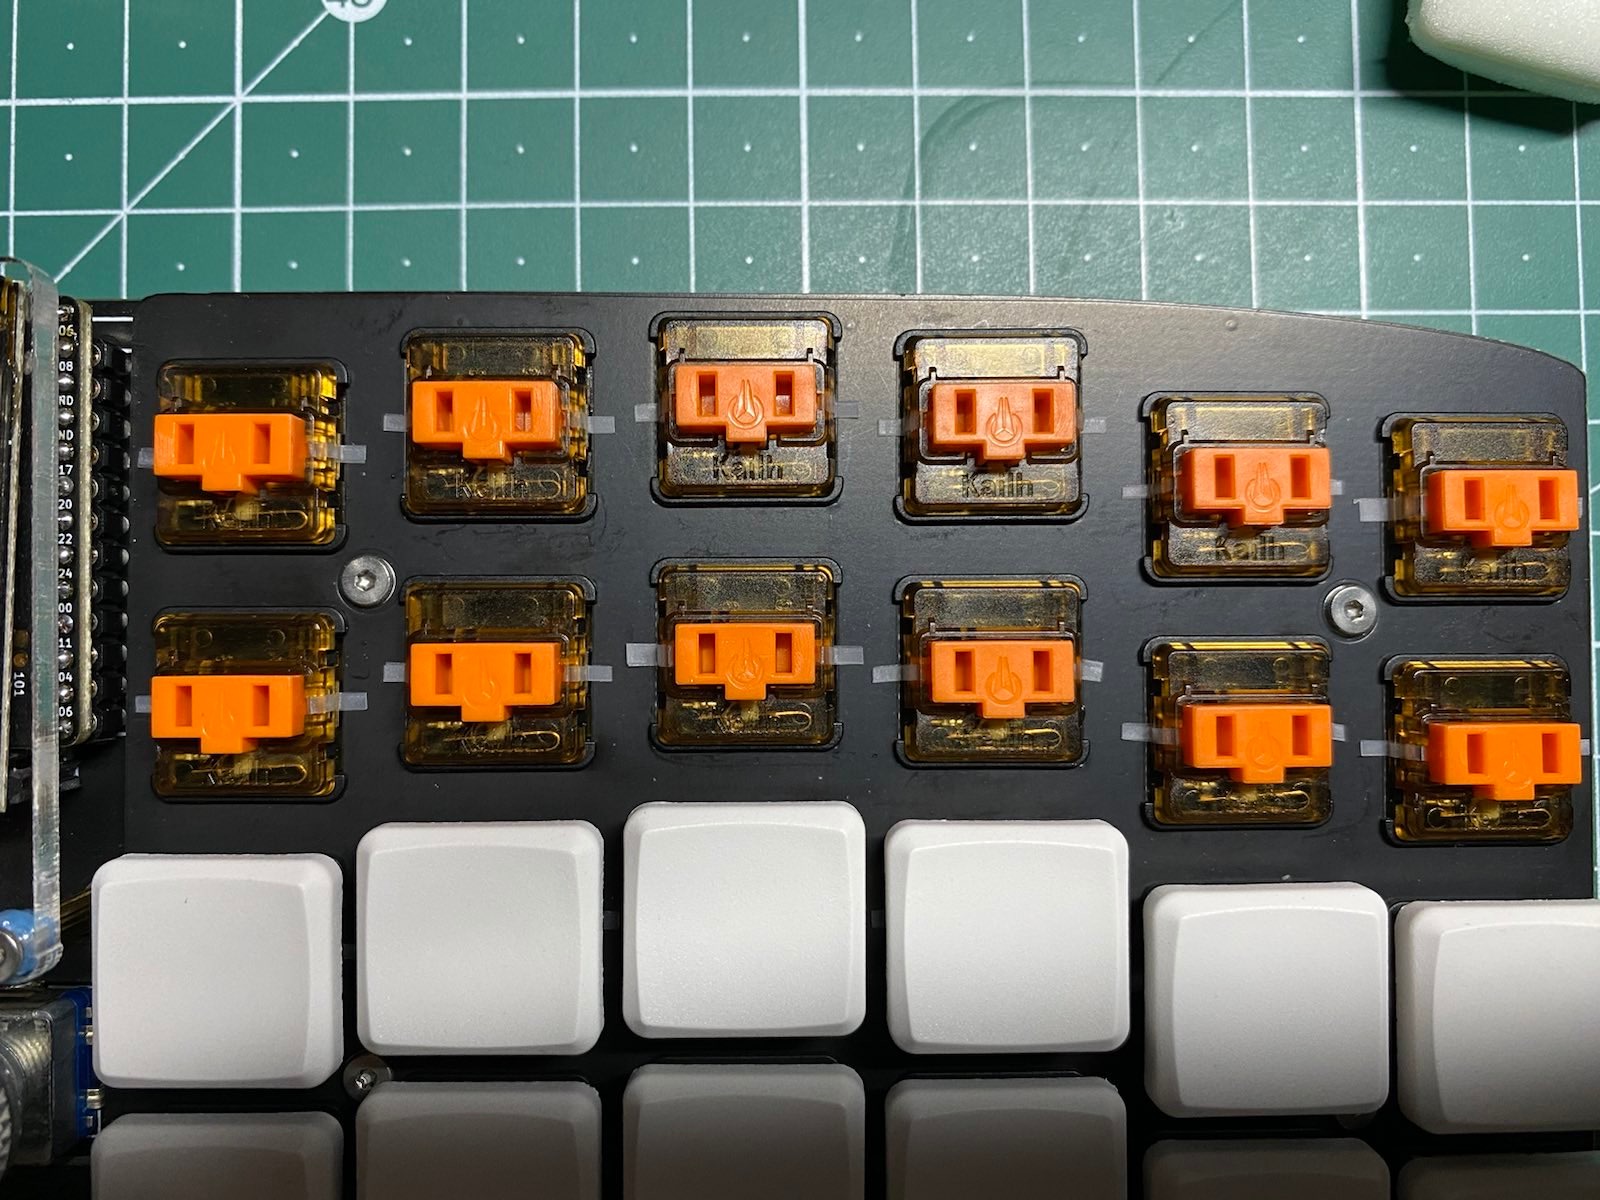
Result
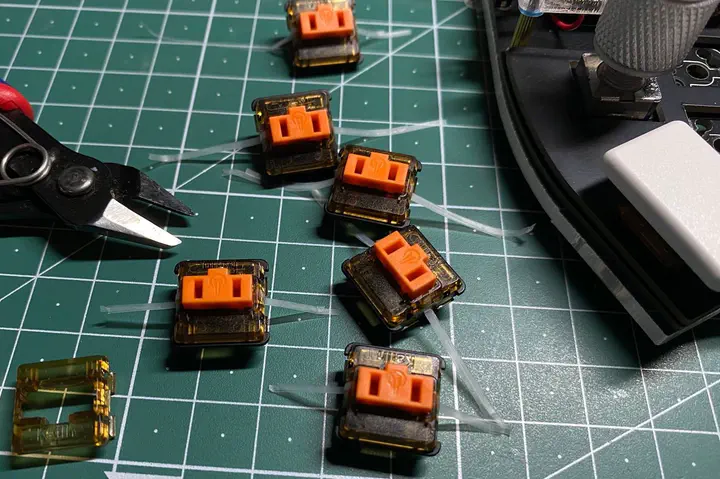
Here is a top-view of the installed switches, showing the visible tape when the keycaps are not installed.
References
[1] S. Mohr, “Modding Kailh Choc Switches - O-Rings, Tape Modding, and Lubing Guide.” Apr. 2022 [Online]. Available: https://youtu.be/3YBNRXRXG0w?si=UaljKKNYuj7s-pa0
Peter W. Egger
Software Engineer / Data Scientist
Maker culture enthusiast and aspiring data scientist.